Migrating from MySQL to Google Cloud SQL opens up cloud services that offer a wealth of capabilities with low management overhead and cost. But, moving your existing on-premises applications to the cloud can be a challenge. Existing applications built on top of on-premises deployments of databases like MySQL. In this blog post we are going to use a database technology called Change Data Capture to synchronize data from MySQL into a Google Cloud SQL instance.
Introduction
One of the major hurdles when migrating applications, whether you’re changing the technology or moving to the cloud, is migrating your data. The older and bigger the application, the more difficult that migration becomes. Traditional Extract, Translate, and Load (ETL) tools require multiple passes and, potentially, significant downtime to handle data migration activities. This is where real-time ETL tools like Striim shine.
There are a number of benefits in migrating applications this way, such as being able to:
- Add a new, client-facing cloud application by synchronizing an existing, traditionally on-premises application’s data set.
- Migrate one or more on-premises application (with data) to the cloud for production testing with almost zero impact on the existing application.
Let’s walk through an example of connecting an on-premises instance of MySQL to Google Cloud SQL for MySQL.
Set Up the MySQL Database
Before we dive into Striim, we are assuming you have an on-premises MySQL instance already configured and containing relevant data. For the purpose of this post, the dataset we have loaded data from a GitHub source (https://github.com/datacharmer/test_db) in a local MySQL instance. The data set is pretty large, which is perfect for our purposes, and contains a dummy set of employee information, including salaries.
Rather than importing all the data this data set contains, I’ve excluded the load_salaries2.dump and load_salaries3.dump files. This will allow us to insert a lot of data after Striim has been configured to show how powerful Change Data Capture is.
Set Up the Striim Application
Now that we have an on-premises data set in MySQL, let’s set up a new Striim application on Google Cloud Platform to act as the migration service.
Open your Google Cloud console and open or start a new project. Go to the marketplace and search for Striim.
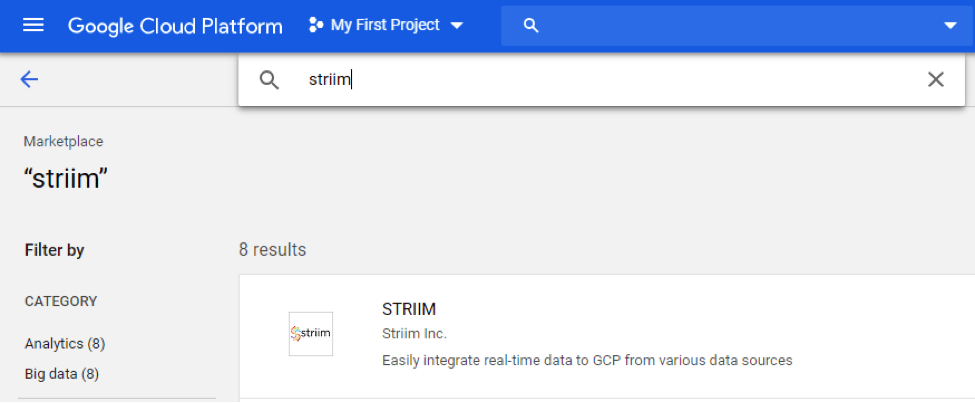
A number of options should return, but the one we’re after is the first item, which allows integration of real-time data to GCP.
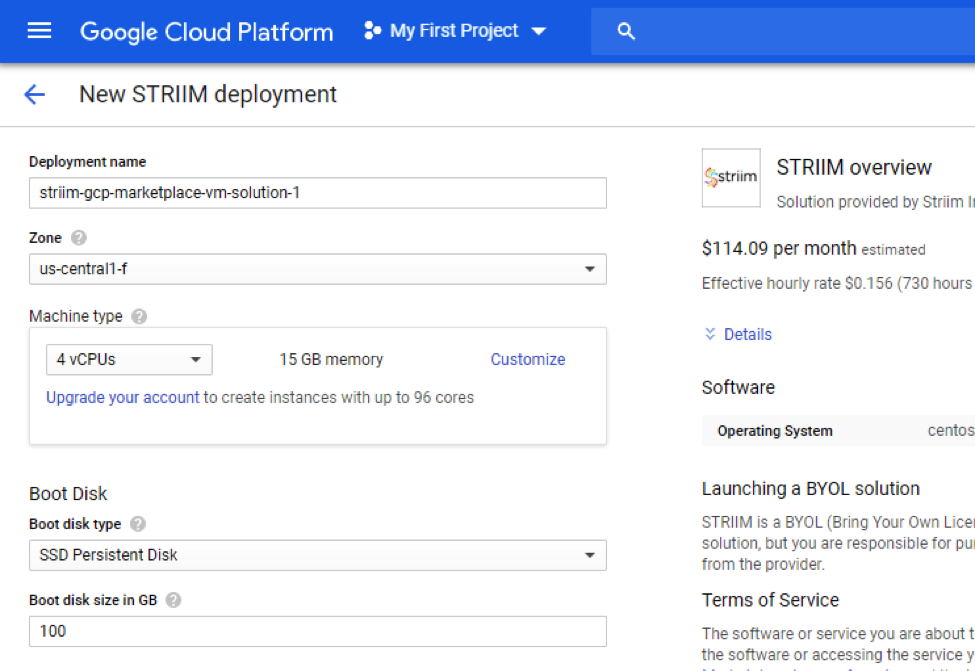
Select this option and start the deployment process by pressing the deploy button at the bottom of this screen. For this tutorial, we’ll use the basic defaults for a Striim server. In production, however, you’d need to size appropriately depending on your load.
Create a Target Database
While we wait for the Striim server to deploy, let’s create a Google SQL database to which we’ll migrate our database. Select the SQL option from the side menu in Google Cloud and create a new MySQL instance.
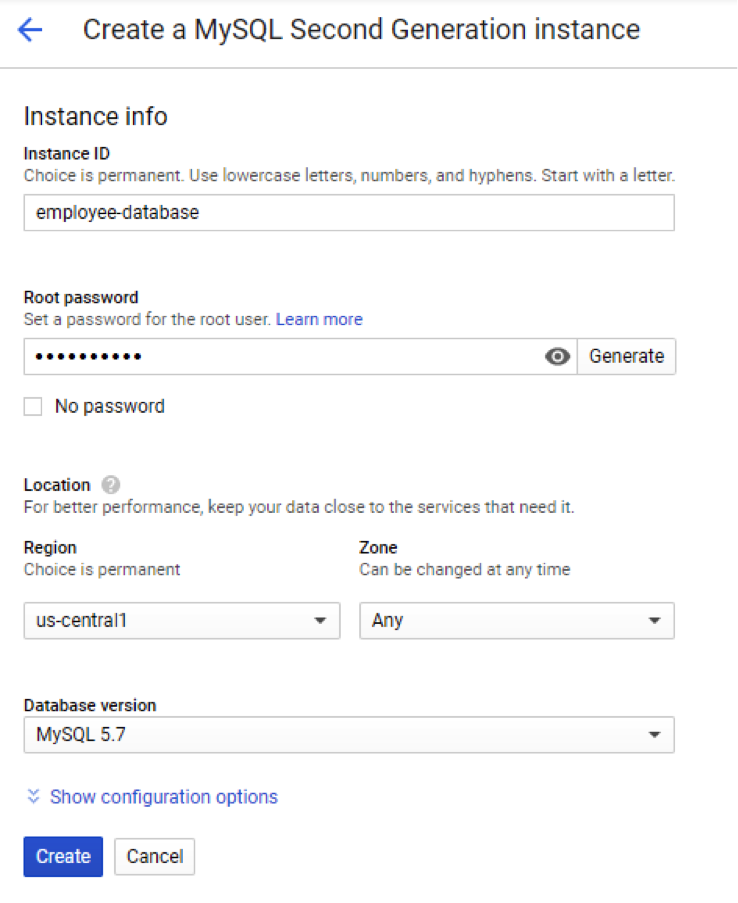
Once again, we’ll use the defaults for a basic Google MySQL instance. Open the instance and copy the instance connection name for use later. Then open the database instance and take note of the IP address.
We also need to create the database structure for the data we imported into the local MySQL instance. To do this, open the Google Cloud shell, log into the MySQL server, and run the SQL to create the table structure. Striim also needs a checkpoint table to keep the state in the event of failures, so create that table structure using the following:
Initial Load Application
Open the Google Console and go back to the Deployment Manager, and click “Visit site”. It’s important to note that the Striim VM currently has a dynamic external IP address. In a production environment, you’ll want to set this to static so it won’t change.
When you first visit the site, you’ll see a congratulations screen. Click accept and fill in the basic details. Leave the license field blank for the trial version of Striim, or add your license key if you have one.
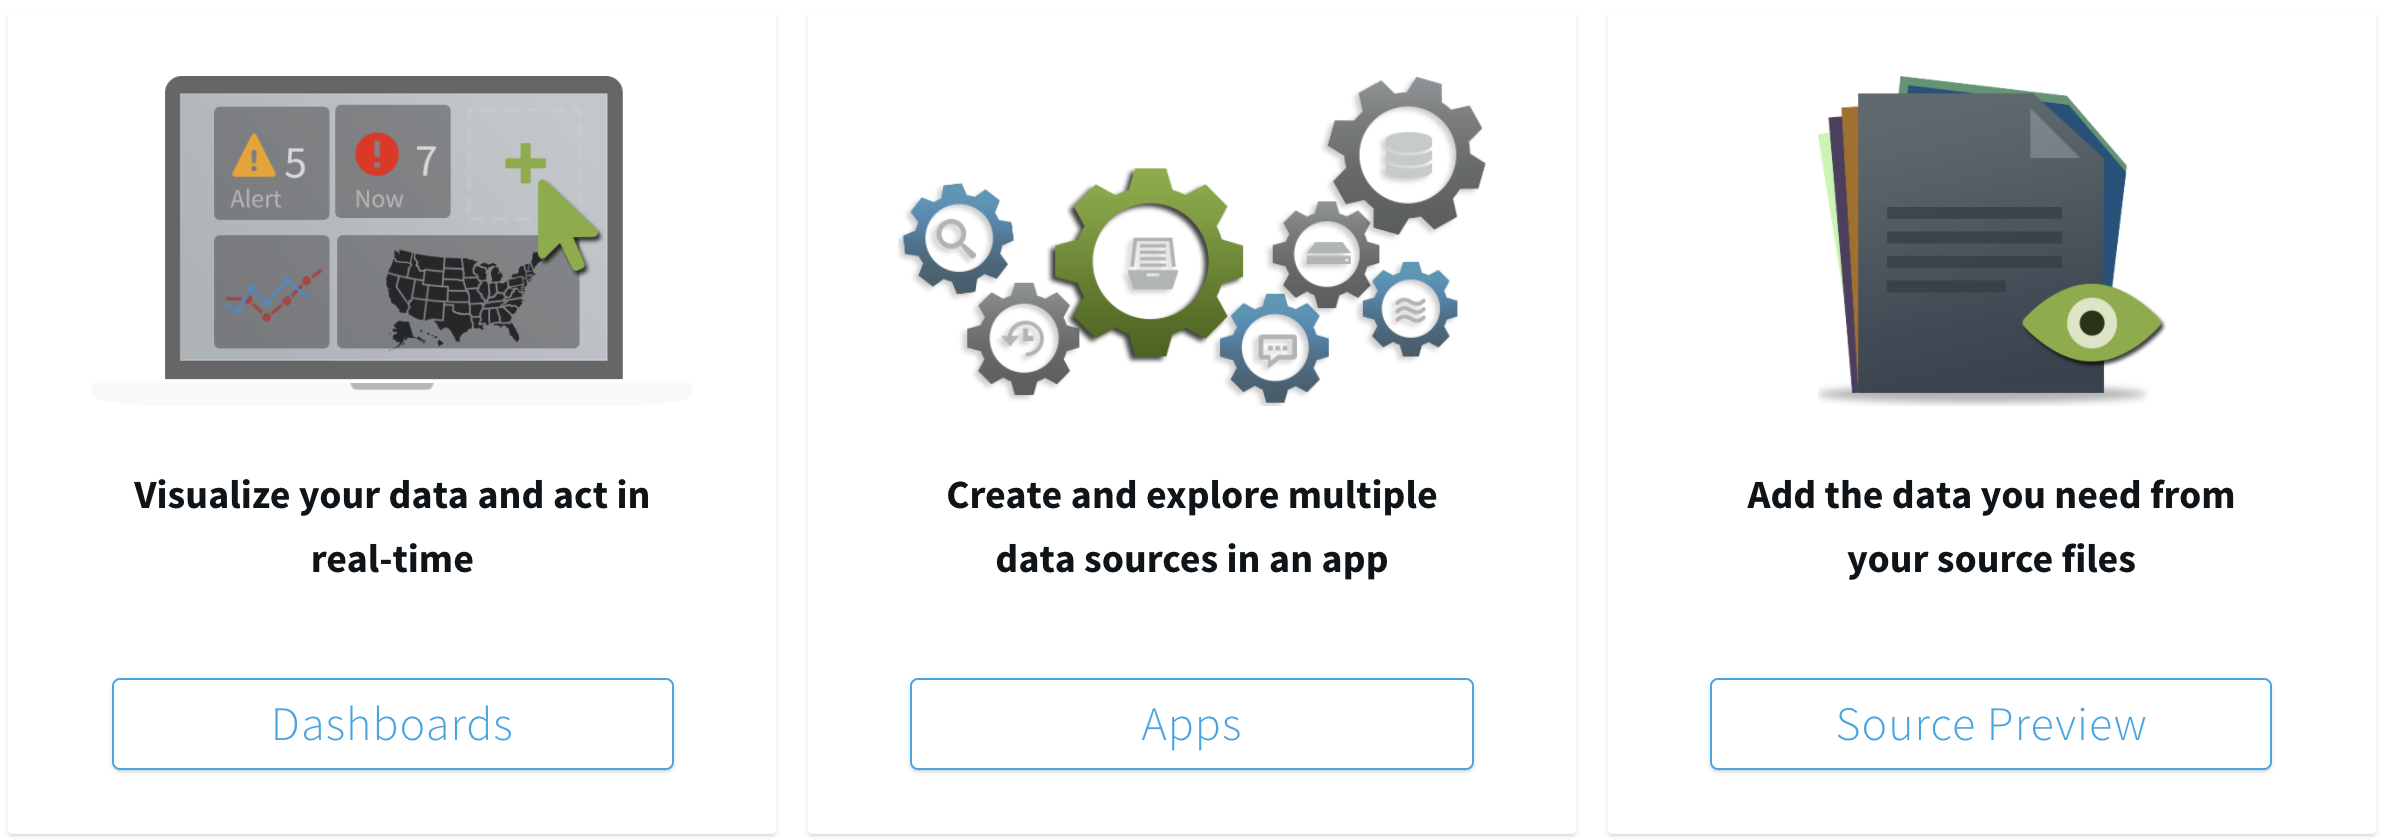
The first thing we need to do is create an application that performs the initial load of our current data set. There is no wizard for setting up an initial load application that we require, so go to Apps and create an app from scratch.
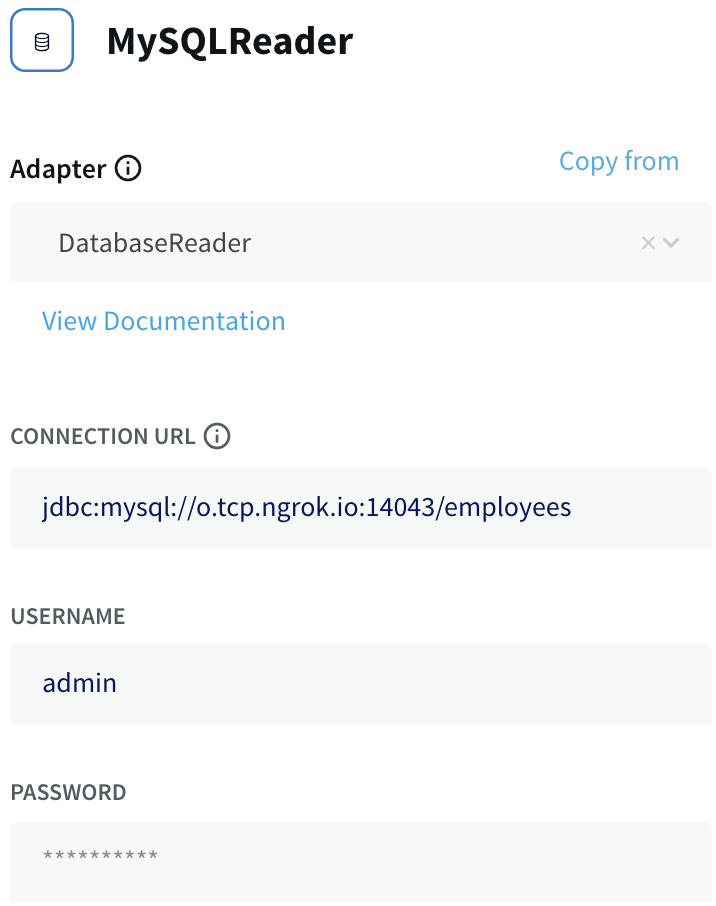
First, let’s add a MySQL reader from the sources tab on the left. This will access our local database to load the initial set of data. To read from a local server we need to use a JDBC style URL using the template: jdbc:mysql://<server_ip>:<port>/<database>. We are also mapping the tables we want to sync by specifying them in the tables folder using <database>.<tablename>. This allows us to restrict what is synchronized. Finally, under output to, specify a new WAEvent type for this connector.
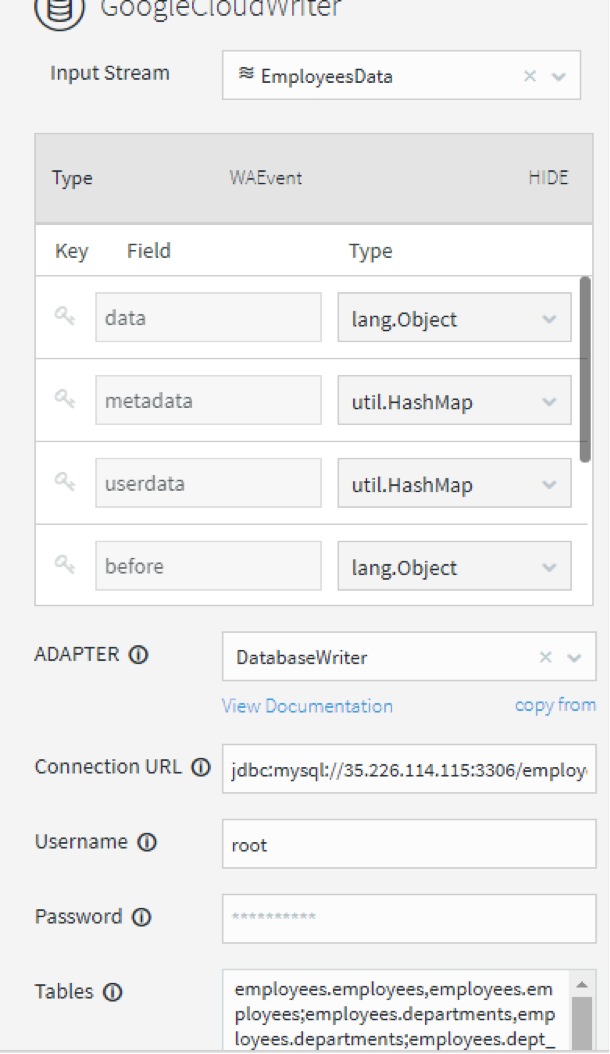
Once we have our source wired up, we need to add a target to the flow so our data starts to transfer. Using a process similar to the one we used previously, add the GoogleCloudWriter target with the Google cloud instance in the connection URL. For the tables, this time we need to match the source and targets together using the form:
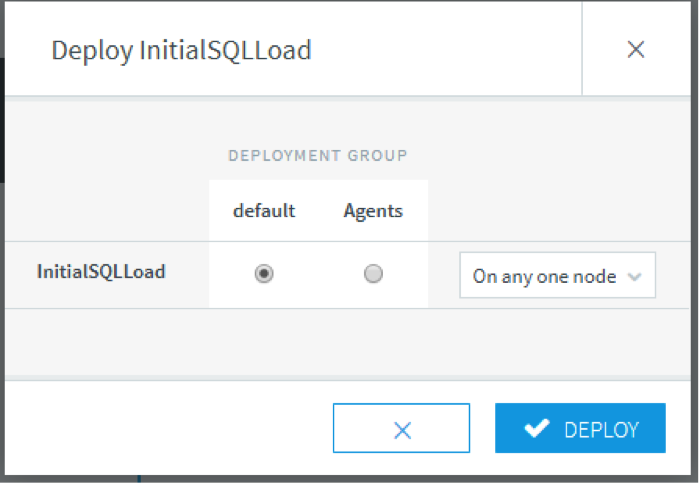
Once both the source and target connectors have been configured, deploy and start the application to begin the initial load process.
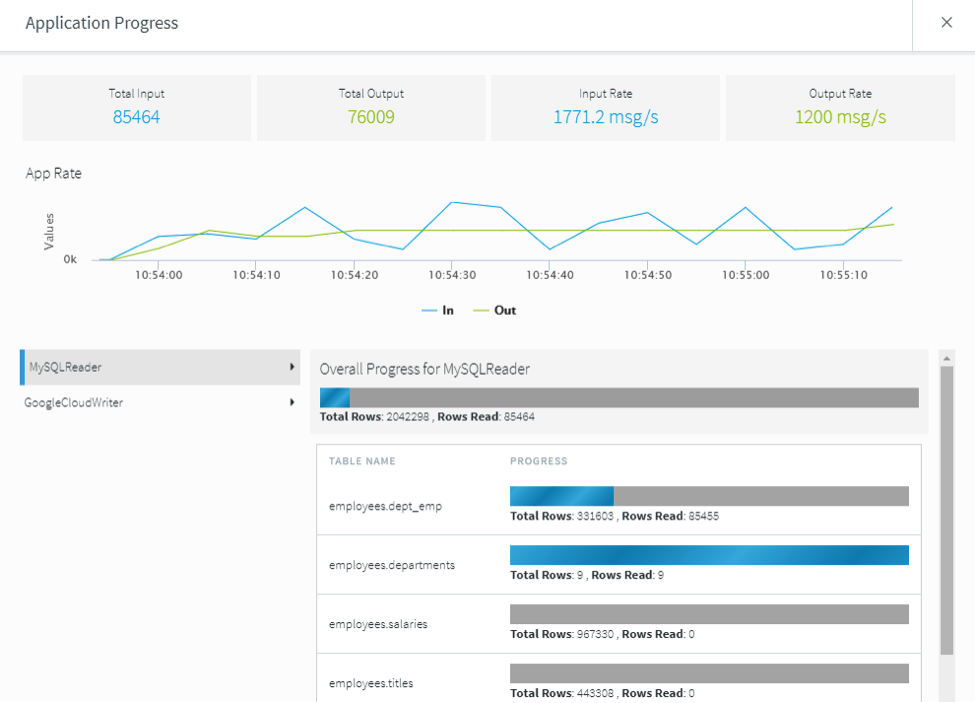
After the application goes through the starting process we can click on the monitor button to show the performance of the application. This will take a little while to complete, depending on your database size
Change Data Capture
While the initial load takes place, let’s create the Change Data Capture (CDC) application to get ready for the synchronization process.
This time we are going to use a wizard to create the application. Click on Add Apps, then select the option to start with a Template. Striim comes with a lot of templates for different use cases out of the box. Scroll down to Streaming Integration for MySQL, click “show more,” then look for MySQL CDC to Cloud SQL MySQL. This option sets up a CDC application for MySQL to Google Cloud SQL.
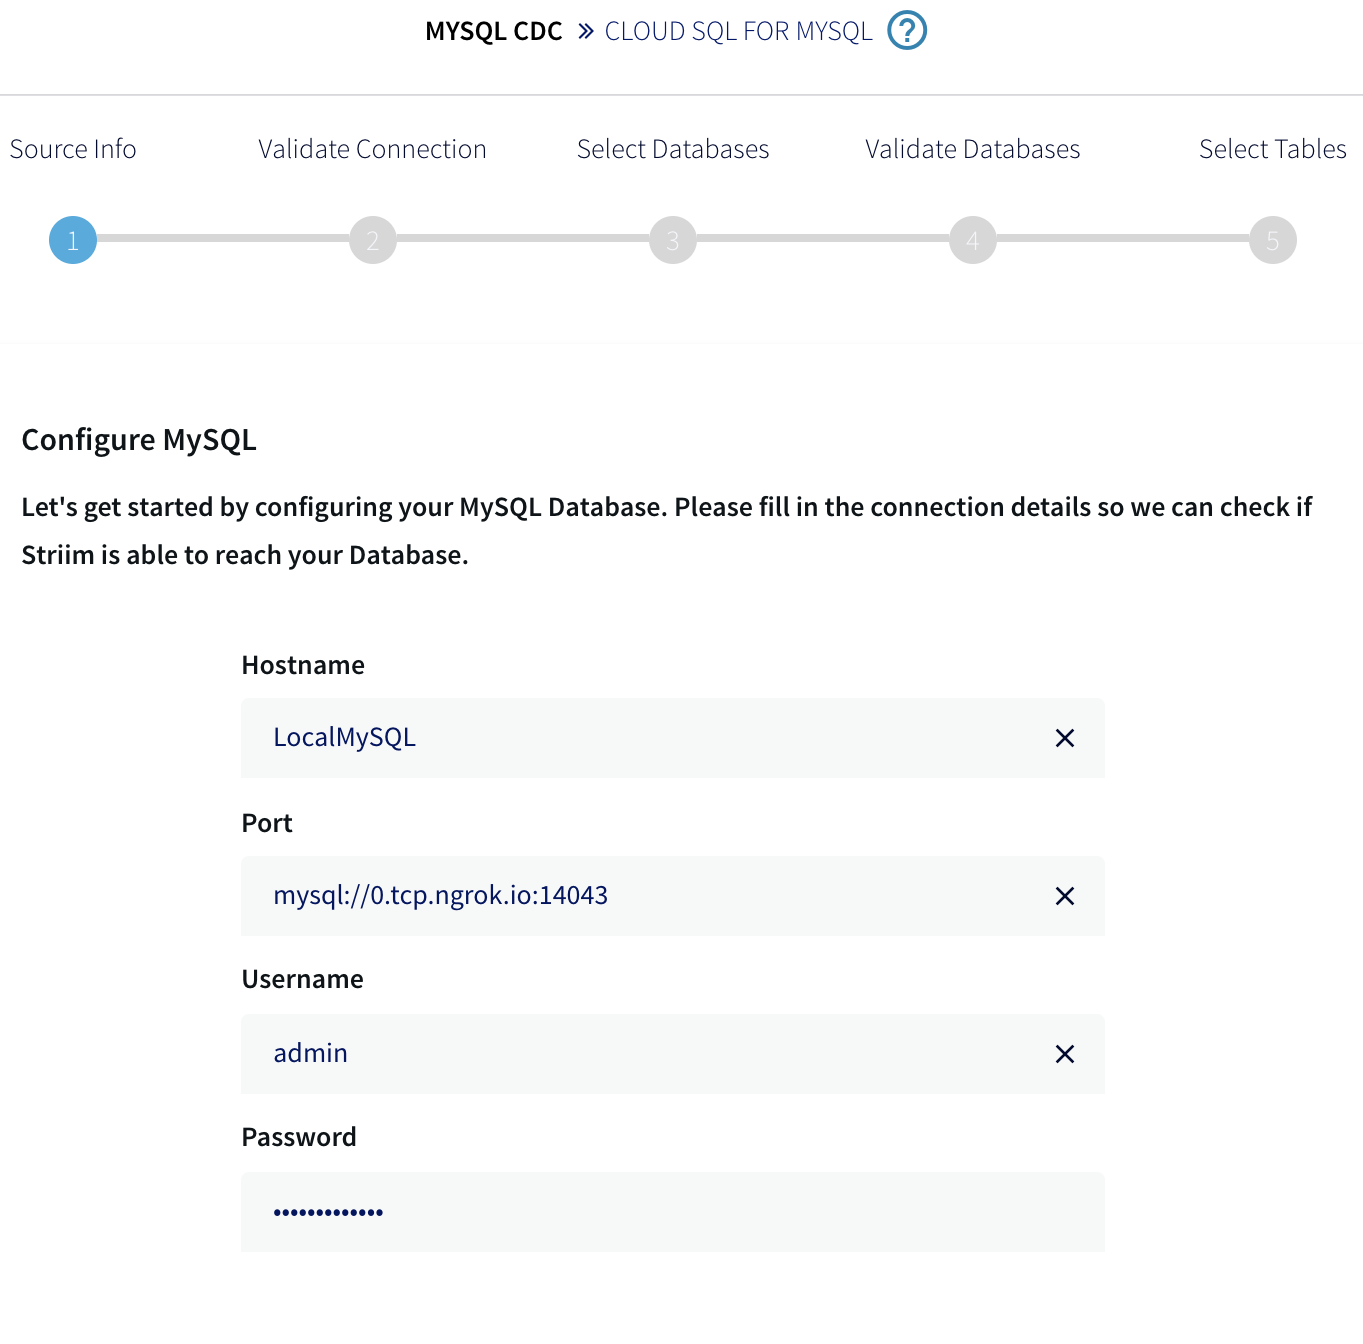
Fill out the connection information for your on-premises application and click next. This should connect to the agent and ensure everything is correct.
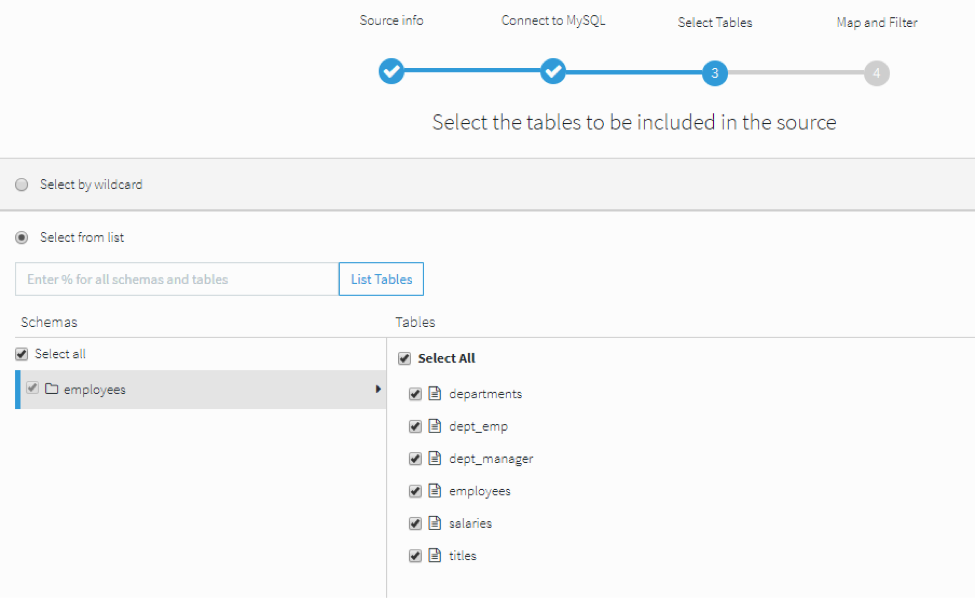
Once everything is connected, check the tables you selected in the first application. These will synchronize any changes that occur.
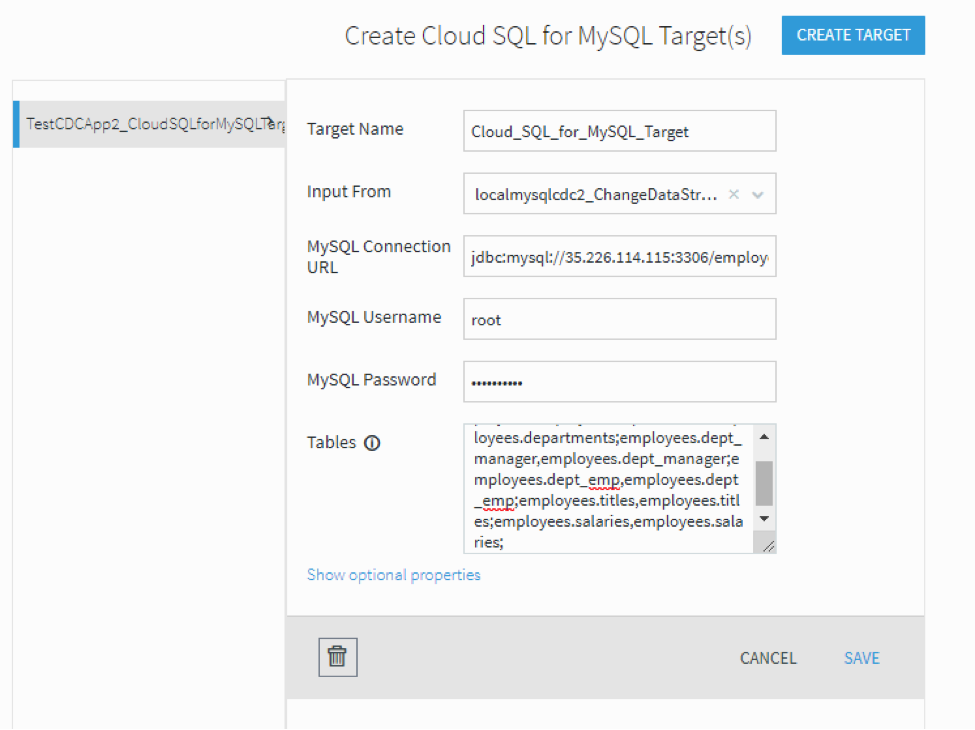
Now we need to link our source to our target. Specify the connection details for your Google SQL instance using the IP address from the previous step. Fill in the username, password, and list of tables from the source database and click next. When you’ve finished the wizard, the application should be ready to go.

If the previous data load application has finished, stop the data load application and start the Change Data Capture application. Once the application has started, start loading transactions into your on-premises database. This should start synchronizing the data that changes up to your Google Cloud instance.
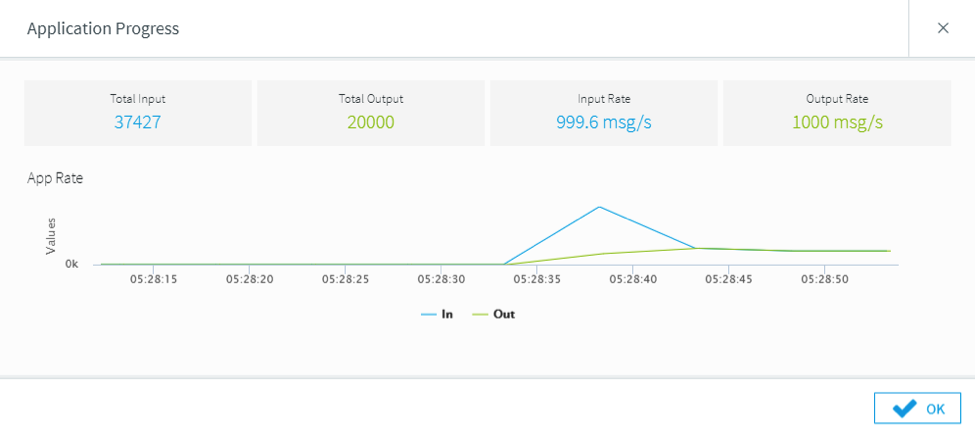
Open the Change Data Capture application and select monitor. You should see both the input and output figures as the application keeps track of your on-premises database. The activity chart should be showing the throughput of the records synchronizing from one location to another.
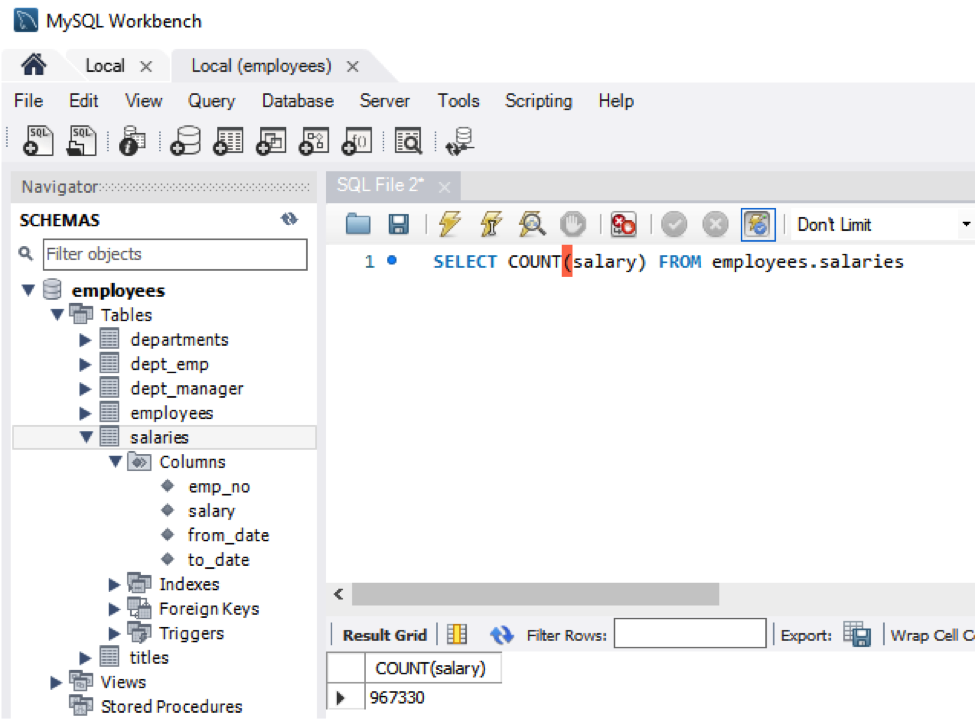
If you open the database console in Google Cloud and run a “SELECT COUNT(salary) FROM salaries” statement a couple of times, you should see the count figure rising.
Adding More Load
While the servers are synchronizing, let’s go back to our local MySQL and add some other transactions. Import the remaining two salaries files, load_salaries2.dump and load_salaries3.dump. This will provide additional transactions to be synchronized and you’ll see Striim continue to add transactions as they happen without needing to do anything else.
Next Steps
We looked at a really quick and easy way to synchronize an on-premises instance of MySQL to Google Cloud SQL using Striim. At this point, you could start using the cloud database to run additional applications or do data analysis — without affecting the performance and use of your existing system.
If you open the menu on the Striim admin page, then open the apps section, and finally open this application, you’ll also see other steps you could add to this flow that support even more complex use cases, such as adding in transforms, combining multiple sources, or even splitting across targets.
To learn more about migrating from MySQL to Google Cloud SQL, check out the product page at https://www.striim.com/striim-for-google-cloud-sql/. To see how Striim can help with your move to cloud-based services, schedule a demo with a Striim technologist, or download a free trial of the platform.
This article was originally posted on striim’s site.
If you’re interested in developing expert technical content that performs, let’s have a conversation today.